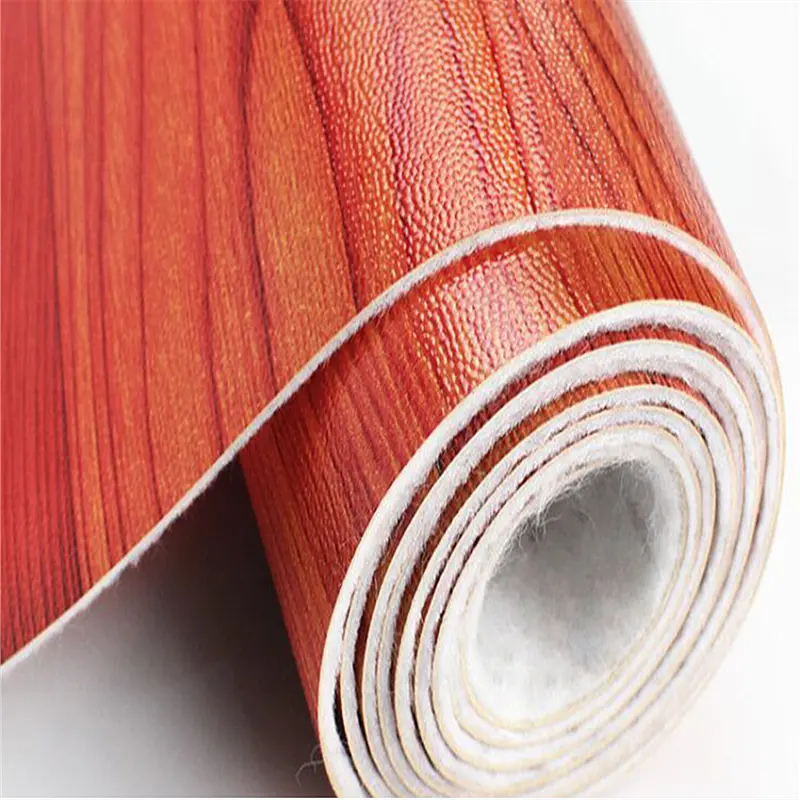
Cutting linoleum rolls from Lowe’s requires precision to ensure clean edges for a proper fit.
Here’s a step-by-step guide on how to do lowes linoleum roll:
Tools Needed
- Utility knife or linoleum cutter
- Straightedge or ruler
- Measuring tape
- Chalk or pencil
- Cutting mat or sturdy surface (optional)
Steps to Cut Linoleum Roll
- Measure the Area
- Use a measuring tape to determine the dimensions of the area where the linoleum will be installed. Make sure to account for any corners or irregular shapes.
- Transfer Measurements
- Mark the measurements on the linoleum roll using chalk or a pencil. Always measure twice to ensure accuracy.
- Create a Straight Edge
- Place a straightedge or ruler along the line where you will cut. This will help guide your knife for a straight cut.
- Cut the Linoleum
- Using a utility knife or linoleum cutter, carefully score along the straightedge. Apply even pressure and make multiple passes if needed for a clean cut.
- Tip: Use a cutting mat or a piece of cardboard underneath to protect your work surface.
- Trim Edges (if necessary)
- If there are any rough edges after cutting, use the knife to trim them for a cleaner finish.
- Test Fit
- Place the cut piece in the designated area to ensure it fits properly. Make any necessary adjustments.
- Final Installation
- Once satisfied with the fit, proceed with the installation according to the manufacturer’s instructions.
Additional Tips
- Safety First: Always cut away from your body and keep your fingers clear of the blade.
- Use a Sharp Blade: A dull blade can make it harder to cut smoothly and may lead to tearing.
- Consider a Second Pair of Hands: If the linoleum roll is large, having someone assist can help maintain tension and alignment while cutting.
By following these steps, you can achieve clean, precise cuts in your linoleum roll for a successful installation.